From client list to 3D foot in about a minute
What a scan looks like, step by step, and how to get a good one.
Choose the foot
Open the client and tap New Scan. Choose Sole or Full foot, and Standard or Fine. Then tap the foot.
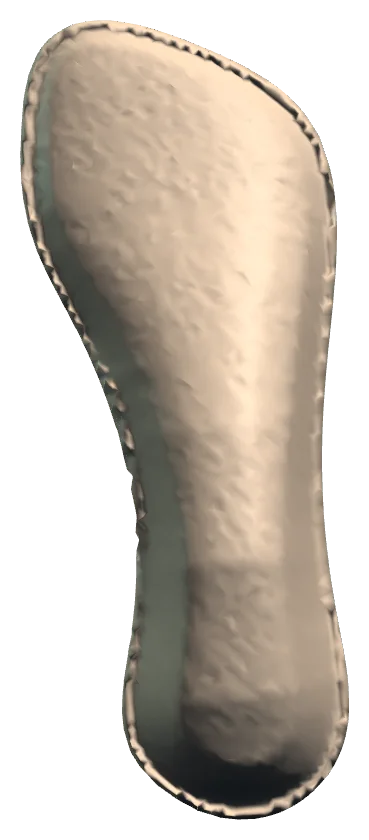
~5 secondsScan around the sole
Fit the sole to the on-screen outline, then move slowly under and around the foot. Voice and haptic cues keep you at the right distance.
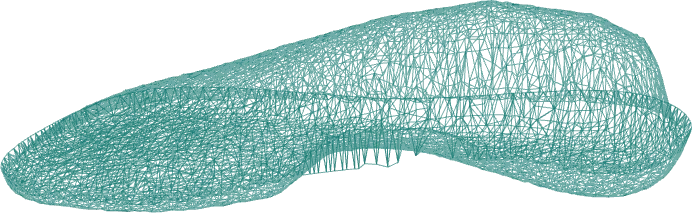
~20–40 secondsCheck the 3D mesh
The phone builds the mesh with a colour photo texture. Turn it, check coverage, and rescan if you need to.
a few secondsSave, export, design
Scan the other foot. Both feet are saved to the client as one dated set. Send both feet at once: Share, Save to Files, Email.
when you are ready
1 · Pick the client
 SoleDepth scan of the sole
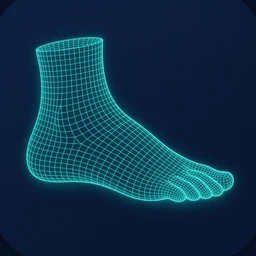 Full footComplete 3D foot
2 · Choose the scan, tap a foot
3 · Scan around the sole
4 · Check the 3D foot
5 · Both feet, one dated set
Screens recreated from the app's interface. Demo clients and synthetic geometry, not real people.
Tips for a clean scan
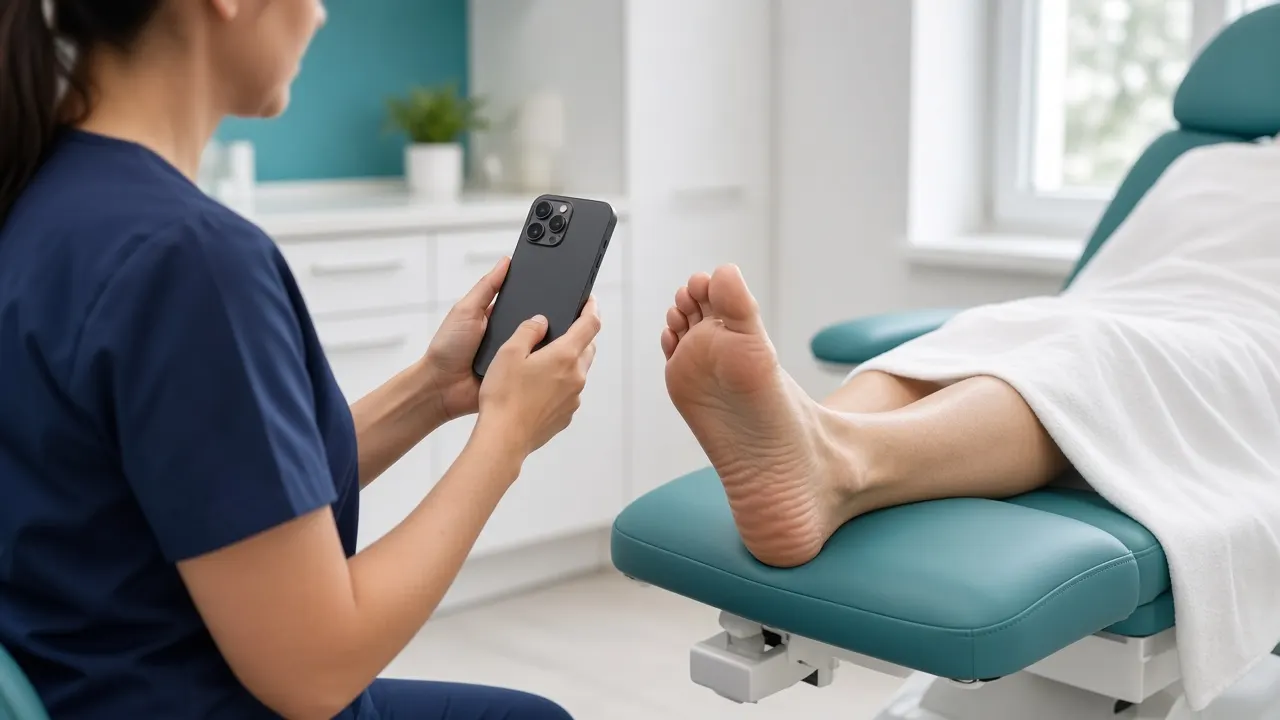
- Seat the client with the foot raised and the sole facing you.
- Hold the iPhone with the screen toward the foot. The depth camera is next to the front camera.
- Start at about 30 cm. Wait for the distance to turn green and the three dots to line up.
- Move slowly. First under the sole, then tilt around: inside, outside, heel, toes.
- Use Fine only when you need detail, and stay 20–25 cm from the sole.
- Avoid strong direct sunlight on the foot.
Photo is an AI-generated illustration.
Design the device in Plantar
Upload the scan
Add the STL to the client in Plantar. Landmarks are found for you.
Pick a template
Rigid 3/4 shell or full length. Load your own saved prescriptions.
Shape it
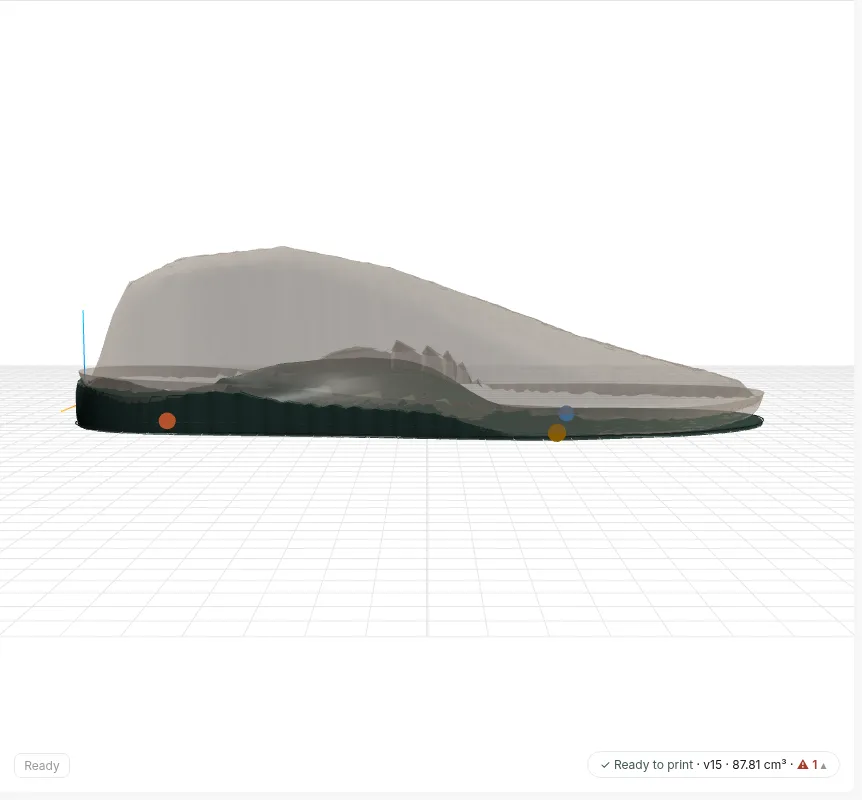
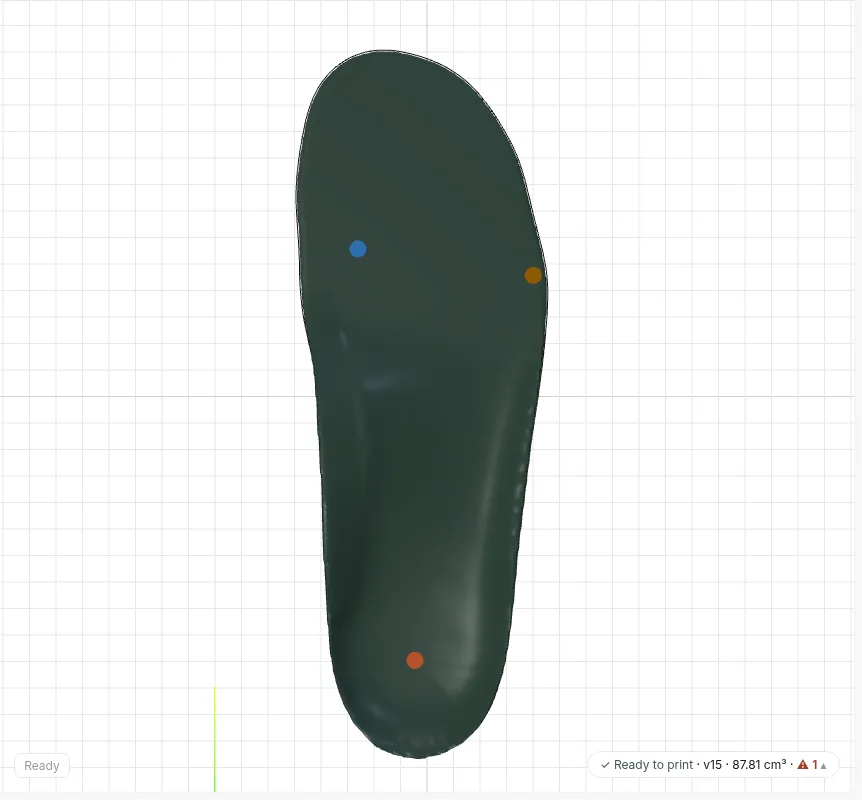
Heel cup, arch fill, thickness, forefoot, additions. Live preview.
Check and download
The manufacturing check runs, then download a print-ready STL.
Join the beta
We are opening the iPhone beta to a small group of clinicians in Australia first, then the UK and US. Tell us about your practice and we will send a TestFlight invite.
- No hardware to buy
- Scans stay on your iPhone
- Direct line to the podiatrist who builds it